Just as Web Apps allows us to get our web applications up and running easily without having to worry about all the traditional details, API Apps does the same for Web APIs.
API Apps present various new features, but two of the most important are API Definitions and CORS. In this post we’ll see API Definitions, in the next we’ll talk about CORS.
API Definitions
API definitions are very useful. See one of the few points that SOAP-based services is deemed successful even in the eyes of APIs advocates, is the presence of a powerful metadata standard in the form of WSDL. Web APIs lacked such support – at least in the form of a powerful standard although there are various options out these. Now of course, Web APIs have a standard interface so the need for metadata is already minimized, but still API consumers need to know about the structure of input and output data, and API Definitions help in this regard.
API Definitions allows you to publish metadata about your API using Swagger – which is an open source metadata format.
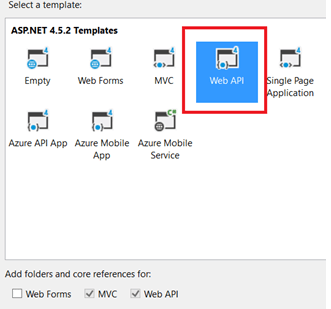
Let’s see how we can add metadata support to an existing API. Here I have a simple API project which I created using the default VS 2015 Web API/MVC template:
As you know you get the default ValuesController:

One thing to note in the above, is that I have changed the name of the Get override which accepts an id (Get(int id)) into GetById. The reason is that Swagger demands unique operation ids when generating the client code.
Now to add the metadata support for the Web API project, add the Swashbuckle Nuget package:
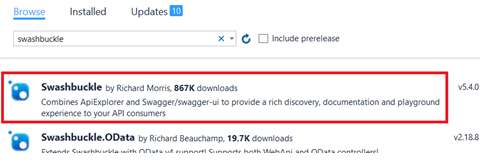
The Swashbuckle package add the Swagger support to your project.
Once you add the package, you will get the SwaggerConfig file added – which contains the Swagger configuration. For now we will leave the default configuration:

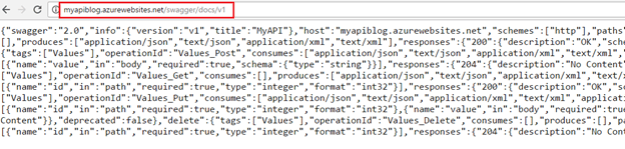
Now if you visit /swagger/docs/v1 you see the API metadata:
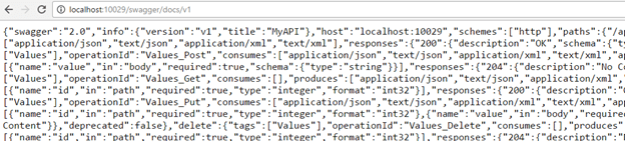
Now you have metadata description for your API which clients can use to write strongly-typed code.
You also now have a UI for your API to test; browse to /swagger/ui/index:

Ok, now let’s deploy this API to Azure API App. In the Web App post, I used the portal to create a Web App; so for variety let’s use VS to create the API App and deploy our API.
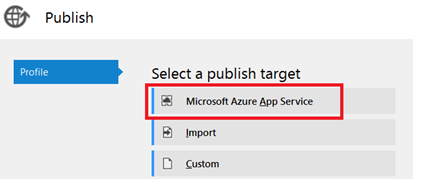
Open the Publish wizard from VS project properties, and select Microsoft Azure App Service:
This time around click the New button to create a new App Service:

In the Change Type menu select API App and supply your app name. Then click New to create a new App Service Plan. You end up with something similar to this:

Finally, continue the wizard to create the API App and deploy the Web API.
Now you have your API deployed to Azure API App:
And now in the Azure Portal, you can see the API Definition tab of your API App:

As you can see, you can change the URL of metadata – in this sample I kept and showed you the default one.
Finally, let’s see how you can consume the API from a client. In this case I have a console application. Right click the project and select Add->REST API Client:
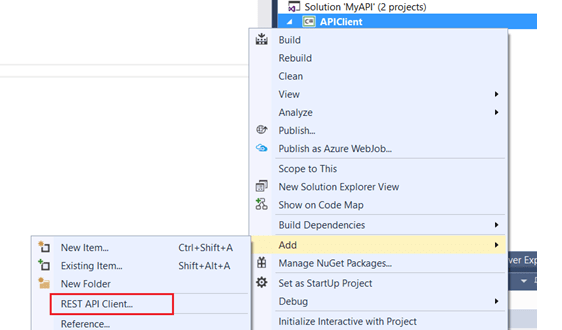
Note: I hate it when these are called REST! This is a Web API client, not a REST client. REST is a style for building and consuming APIs. Not all APIs are RESTful and by experience, most APIs are actually not.
Anyway, provide metadata location of your deployed Web API:

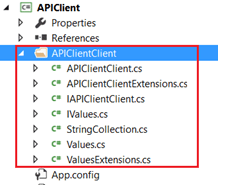
Then you will have the required strongly-typed objects and plumbing code to consume the API:
This code is basically a wrapper around System.Net.Http.HttpClient which calls the API published in the API App, and of course the strongly typed objects.
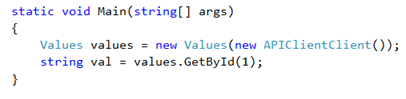
You can then use the generated client code to call the API:
Deployment Slots
Finally, a quick note: what you learned about Deployment Slots in Web Apps, also apply to API Apps. As I said before, Deployment Slots is a feature of Azure Apps that apply to Web Apps, API Apps, and Mobile Apps.
